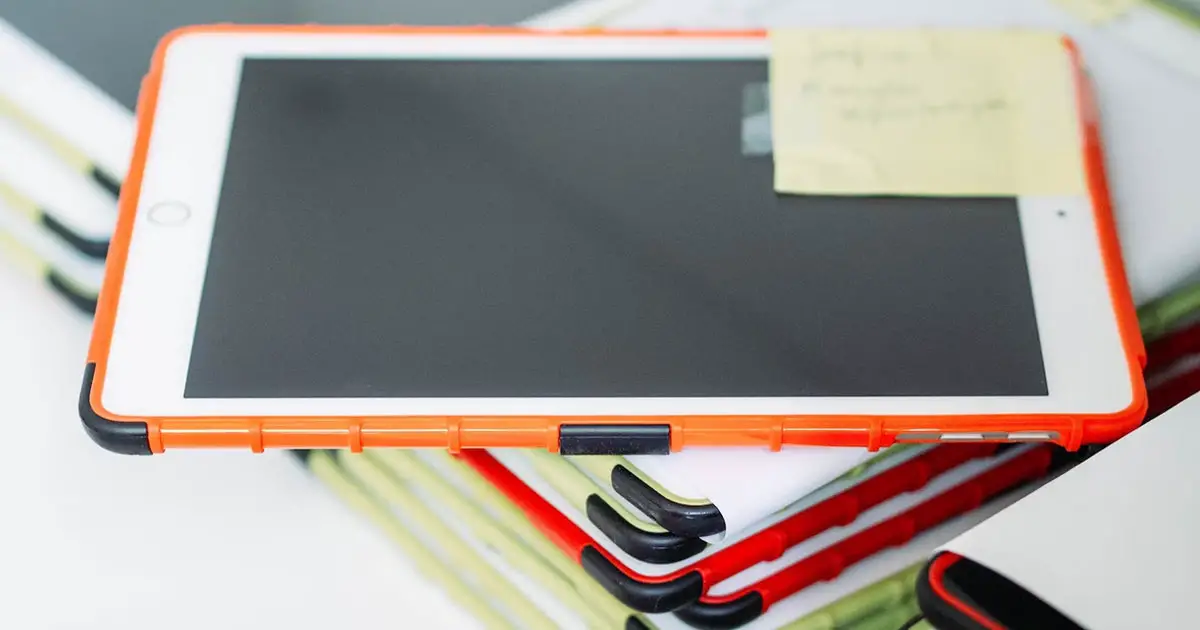
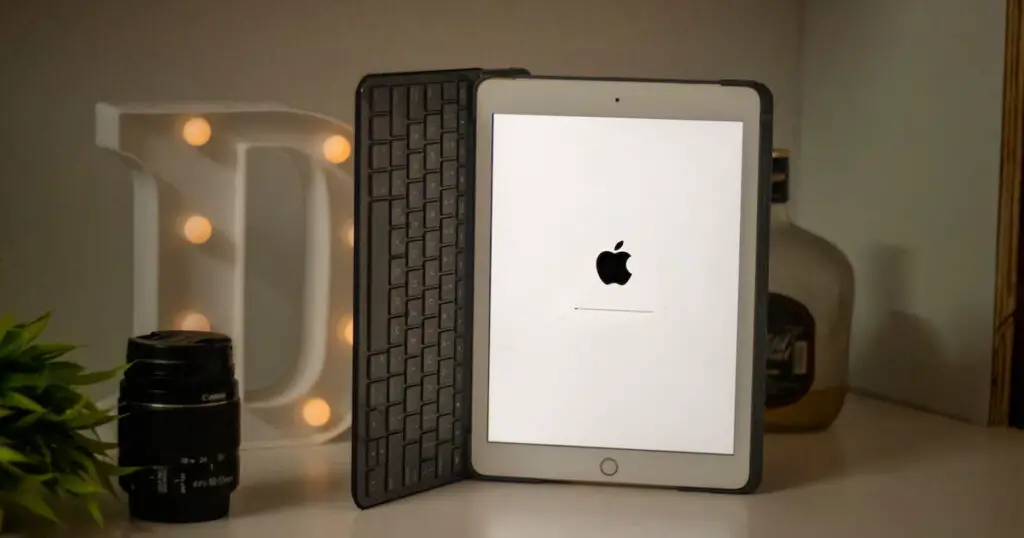
Wondering “Where Is The Microphone On The iPad?” You’re not alone. In the world of Apple’s iconic tablet, the microphone’s location can be a bit of a mystery. Whether you’re a tech enthusiast or simply want to elevate your iPad experience, this guide is here to shed light on the microphone’s hidden secrets. Join us as we uncover the precise microphone placements across various iPad models, providing you with the answers you seek to make the most of your iPad’s audio capabilities.
Do All iPads Have Microphones?
Absolutely! Every iPad, from the very first model introduced in 2010 to the latest iterations, comes equipped with at least one built-in microphone. Apple has always prioritized user-friendly technology, and that includes ensuring that every iPad owner can effortlessly capture sound. Over the years, as technology has advanced, so has the microphone technology in iPads. Modern iPad models often boast multiple microphones, providing you with exceptional audio quality, noise reduction, and impressive recording capabilities.
Whether you own a vintage iPad or the latest iPad Pro, rest assured that your device is fully equipped to cater to your audio needs. With this clarity that all iPads indeed have microphones, let’s delve deeper into the world of iPad microphones and discover where these microphones are placed on various iPad models.
Microphone Locations on Regular iPads
When it comes to regular iPads, they’ve evolved over the years, and so have their microphone placements. To help you pinpoint where the microphone is on your regular iPad, we’ve broken it down by generations:
iPad (1st to 4th Generation)
These earlier iPad models feature a single microphone, typically located at the top of the device. This microphone is designed to capture sound from the device’s front, ensuring clear audio input for your calls and recordings.
iPad (5th to 6th Generation)
In the 5th and 6th-generation iPads, you’ll find the microphone on the back of the device. This placement allows for effective sound capture, whether you’re using your iPad for video recording or voice memos.
iPad (7th to 9th Generation)
The more recent regular iPads, spanning the 7th, 8th, and 9th generations, are equipped with two microphones. One is located at the top of the device, similar to the earlier models, while the other microphone is positioned near the rear camera. This dual-microphone setup is designed to capture high-quality audio, making your video calls and recordings more immersive and clear.
So, depending on the generation of your regular iPad, you can now identify where the microphones are located. Understanding these placements will help you make the most of your iPad’s audio capabilities, whether you’re engaging in video conferences, recording lectures, or simply enjoying your favorite music.
Also read: Can You Screen Record on iPad?
Microphone Locations on iPad Mini
The iPad Mini series has been a fan-favorite due to its compact design and impressive capabilities. As you explore the microphone locations on iPad Mini models, you’ll notice a pattern of innovation. Here’s where you can find the microphones:
iPad Mini (1st Generation)
The original iPad Mini features a single microphone located at the bottom of the device. This placement ensures clear audio input when holding your iPad Mini in portrait mode, making it ideal for video calls and recordings.
iPad Mini (2nd to 6th Generation)
From the 2nd to the latest 6th generation, iPad Mini models have embraced a dual-microphone setup. You’ll find one microphone at the top of the device, similar to regular iPads, and another microphone near the rear camera. This configuration enhances audio capture, whether you’re recording a memorable moment or engaging in online meetings.
The iPad Mini’s commitment to audio quality, despite its smaller size, ensures that you’ll always enjoy crisp and clear sound during your iPad Mini adventures. Whether you’re using it for work or play, knowing the microphone locations on your iPad Mini can help you maximize its audio potential.
Microphone Locations on iPad Pro
The iPad Pro series represents the pinnacle of Apple’s tablet technology, and their microphone setups reflect this excellence. Here’s where you’ll find the microphones on various iPad Pro models:
iPad Pro 9.7″ and 10.5″ (All Generations)
These models feature two microphones. One is located at the top of the device, while the other is situated near the rear camera. This dual-microphone setup ensures high-quality audio capture, making it perfect for video calls, content creation, and more.
iPad Pro 11″ (All Generations)
The 11″ iPad Pro models take audio to the next level with five microphones. Three microphones are at the top of the device, one near the rear camera, and one on the left side. This extensive microphone configuration provides exceptional sound quality, noise cancellation, and spatial audio recording capabilities, making it a powerhouse for professionals and creatives.
iPad Pro 12.9″ (1st and 2nd Generations)
The initial 12.9″ iPad Pro models feature two microphones, similar to the 9.7″ and 10.5″ models, with one at the top and the other near the rear camera.
iPad Pro 12.9″ (3rd to 5th Generations)
The later 12.9″ iPad Pro models step up the microphone game with five microphones, just like the 11″ models. This extensive setup offers top-notch audio quality and versatility.
Whether you’re using an iPad Pro for creative work, business tasks, or entertainment, the precise microphone placement and configurations ensure that your audio experience matches the device’s premium performance.
Types of Microphones on iPads
Your iPad is not just a tablet; it’s a versatile audio tool. To provide you with the best audio experience, iPads come equipped with various types of microphones. Let’s dive into the kinds you can find:
1. Built-In Microphones
Every iPad model comes with built-in microphones. These microphones are designed to capture sound without the need for any external accessories. They are typically used for tasks like video calls, voice memos, and quick audio recordings. The number and quality of built-in microphones can vary depending on your iPad model, with some featuring multiple microphones for improved audio quality.
2. External Microphone Support
iPads also support external microphones, expanding your audio recording possibilities. You can connect various types of external microphones, including USB microphones, lavalier microphones, or shotgun microphones, depending on your needs. This flexibility is particularly valuable for content creators, podcasters, musicians, and professionals who require high-quality audio.
3. Noise-Canceling Microphones
Some iPad models feature noise-canceling microphones, which excel at reducing background noise during audio recording or video calls. These microphones help ensure that your voice comes through crystal clear, even in noisy environments.
4. Spatial Audio Microphones
The latest iPad Pro models are equipped with advanced spatial audio microphones. These microphones create an immersive audio experience by capturing sound from multiple directions. They’re perfect for activities like recording music, creating 3D audio content, or enjoying spatial audio in your entertainment.
Understanding the types of microphones available on your iPad empowers you to make the most of its audio capabilities. Whether you’re a content creator, communicator, or just someone who enjoys high-quality audio, your iPad has the right microphone for the job.
Tips for Optimizing iPad Microphone Performance
Your iPad’s microphone is a powerful tool that can capture everything from your voice in video calls to the sounds of your creative projects. To ensure you’re getting the best possible audio quality, here are some tips for optimizing your iPad’s microphone performance:
1. Choose the Right Recording App
Not all recording apps are created equal. Consider using a dedicated audio recording app that allows you to adjust settings like input gain and audio quality. Apps like GarageBand, Voice Memos, and third-party options offer enhanced recording capabilities.
2. External Microphones
If you’re serious about audio quality, consider investing in an external microphone. There’s a wide range of options available, from USB microphones for studio-quality recordings to lavalier mics for hands-free convenience. Ensure your chosen microphone is compatible with your iPad model and iOS version.
3. Control Background Noise
When recording, try to minimize background noise. Find a quiet space, close windows, and doors, and consider using noise-canceling headphones or apps to reduce unwanted sounds.
4. Proper Microphone Placement
If you’re using an external microphone, position it correctly for optimal results. Experiment with placement to find the sweet spot that captures the best audio quality. Additionally, ensure you’re speaking directly into the microphone for clear voice recordings.
5. Adjust Microphone Settings
Your iPad allows you to adjust microphone settings in the Control Center. Swipe down from the top right corner of your screen, tap the microphone icon, and make sure it’s enabled for the app you’re using. You can also control the microphone’s sensitivity here.
6. Use a Pop Filter
When recording vocals or spoken word, consider using a pop filter in front of your microphone. This simple accessory helps reduce plosive sounds (like ‘p’ and ‘b’ sounds) that can cause distortion.
7. Monitor Your Audio
Use headphones to monitor your audio while recording or during video calls. This allows you to catch any issues with sound quality in real-time and make necessary adjustments.
8. Keep Your iPad Clean
Dust and debris can accumulate around the microphone openings over time, affecting audio quality. Regularly clean your iPad, paying special attention to the microphone areas, using a soft brush or compressed air.
By following these tips, you’ll be able to optimize your iPad’s microphone performance, ensuring that your recordings, calls, and creative projects sound their best.
Using External Microphone on The iPad
While the built-in microphones on your iPad are impressive, there are times when you may want to take your audio recording or communication to the next level. That’s where external microphones come into play. Here’s how to connect and use external microphones with your iPad:
1. Check Compatibility
Before purchasing an external microphone, ensure it is compatible with your iPad model and iOS version. Most modern iPads support a wide range of external microphones via the Lightning or USB-C port. Older models may require a Lightning to USB adapter.
2. Choose the Right Microphone
Select an external microphone that suits your needs. Here are a few popular options:
- USB Microphones: These plug directly into your iPad via a USB adapter. They’re excellent for studio-quality recordings, podcasts, and voiceovers.
- Lavalier Microphones: These small, clip-on microphones are ideal for hands-free recording during interviews or presentations.
- Shotgun Microphones: If you’re capturing audio in a specific direction, such as for videos or vlogging, shotgun microphones are a great choice.
- Bluetooth Microphones: Some Bluetooth microphones connect wirelessly to your iPad, offering flexibility and convenience.
3. Connect the Microphone
Plug your external microphone into the Lightning or USB-C port on your iPad. If required, use the appropriate adapter. Ensure the microphone is securely connected.
4. Configure Settings
Your iPad should automatically recognize the external microphone as the audio input source. However, it’s a good practice to double-check this in the app you’re using. For example, in a recording app, you can typically select the microphone source within the app’s settings.
5. Test and Monitor
Before your important recording or call, conduct a quick test to ensure the microphone is functioning correctly. Use headphones to monitor the audio and make any necessary adjustments.
6. Record or Communicate
With the external microphone connected and configured, you’re ready to record high-quality audio or engage in crystal-clear communication. Whether you’re recording a podcast, conducting an interview, or hosting a video conference, the external microphone will elevate your audio quality.
7. Accessorize
Consider using additional accessories like microphone stands or pop filters to enhance your recording setup further. These accessories can help you achieve the best results with your external microphone.
Using an external microphone with your iPad opens up a world of possibilities for high-quality audio capture. Whether you’re a content creator, journalist, musician, or simply someone who values exceptional sound, investing in the right external microphone can make a significant difference in your iPad experience.
Troubleshooting Common iPad Microphone Issues
While iPads are known for their reliability, you may encounter microphone issues from time to time. Whether you’re experiencing muffled audio, no sound at all, or other microphone-related problems, here are some troubleshooting steps to help you resolve common issues:
1. Check for Physical Obstructions
Sometimes, dust or debris can accumulate around the microphone openings, affecting audio quality. Use a soft brush or compressed air to gently clean the microphone area.
2. Restart Your iPad
A simple restart can often resolve minor software glitches that may be causing microphone problems. Press and hold the power button, then slide to power off. Wait a few seconds, then turn your iPad back on.
3. Update iOS
Ensure your iPad is running the latest version of iOS. Go to “Settings” > “General” > “Software Update” to check for and install any available updates.
4. Check App Permissions
Some apps require microphone access permission. Go to “Settings” > “Privacy” > “Microphone” to review and adjust app permissions as needed.
5. Disable Bluetooth Devices
If you’re using Bluetooth headphones or accessories, they may interfere with the microphone. Disconnect any Bluetooth devices and test the microphone again.
6. Adjust Microphone Settings
In some apps, you can adjust microphone settings. For example, in video conferencing apps, you can choose the microphone source within the app’s settings.
7. Test with Different Apps
To isolate the issue, test the microphone with different apps. If the problem is specific to one app, it may be related to that app’s settings or compatibility.
8. Reset All Settings
If you’re still experiencing issues, you can try resetting all settings on your iPad. Go to “Settings” > “General” > “Reset” > “Reset All Settings.” This won’t erase your data but will reset all settings, including microphone-related configurations.
9. Contact Apple Support
If none of the above steps resolve the issue, it’s a good idea to contact Apple Support or visit an Apple Store for further assistance. There may be a hardware-related problem that requires professional attention.
10. Check for Warranty
If your iPad is still under warranty, Apple may repair or replace it if the microphone issue is hardware-related. Check your warranty status on the Apple website or with your retailer.
By following these troubleshooting steps, you can often resolve common microphone issues on your iPad and enjoy clear and reliable audio once again. Remember that for more complex or hardware-related problems, seeking assistance from Apple Support is your best course of action.
Conclusion
From the earliest iPad models to the cutting-edge iPad Pro series, your trusty tablet is equipped with a microphone ready to capture your voice, creativity, and communication. Whether you’re recording, connecting, or creating, your iPad’s microphone is your reliable companion on your digital journey.
With knowledge about microphone locations, types, and optimization, you’re equipped to make the most of your iPad’s audio capabilities. And for any hiccups along the way, our troubleshooting guide is here to assist.
So, as you dive into the diverse world of iPad applications and unleash your creativity, remember that your iPad’s microphone is your voice in the digital realm. Make it heard, express yourself, and enjoy every moment of your iPad experience.
FAQs (Frequently Asked Questions)
1. Do all iPad models have built-in microphones?
- Yes, every iPad model, from the original to the latest editions, comes equipped with at least one built-in microphone. Some newer models even feature multiple microphones for enhanced audio quality.
2. How do I find the microphone on my iPad?
- The microphone’s location varies depending on the iPad model. Check our detailed guide in the article for specific information on where to find the microphone on your iPad.
3. Can I use an external microphone with my iPad?
- Yes, iPads support external microphones through their Lightning or USB-C ports. There are various types of external microphones available, from USB mics to lavalier mics, that can significantly improve your audio quality.
4. How do I troubleshoot microphone issues on my iPad?
- If you encounter microphone problems, you can follow our troubleshooting guide in the article for step-by-step instructions on resolving common issues.
5. What is spatial audio, and which iPad models support it?
- Spatial audio is an immersive audio experience, and it’s supported on some of the latest iPad Pro models. Check the article for details on which models offer this feature.
6. Are there apps to enhance my iPad’s audio recording capabilities?
- Yes, there are many apps available that can enhance your iPad’s audio recording capabilities. Apps like GarageBand and Voice Memos offer advanced settings for recording high-quality audio.
7. Can I use my iPad for podcasting or music recording?
- Absolutely! Many content creators use iPads for podcasting and music recording. With the right external microphone and recording apps, your iPad can serve as a versatile recording studio.
8. Do I need special accessories for better audio with my iPad?
- While not necessary, accessories like microphone stands and pop filters can improve your audio recording setup. These accessories help you achieve professional-level results.
9. Are there any limitations to using external microphones with iPads?
- The main limitation is compatibility. Ensure that the external microphone you choose is compatible with your iPad model and iOS version. Additionally, some apps may have limitations in recognizing external microphones.
10. Can I use my iPad as a voice recorder for lectures or interviews?
- Yes, iPads make excellent voice recorders for lectures, interviews, and other purposes. The built-in and external microphones can capture clear audio, and there are numerous apps available for recording and note-taking.